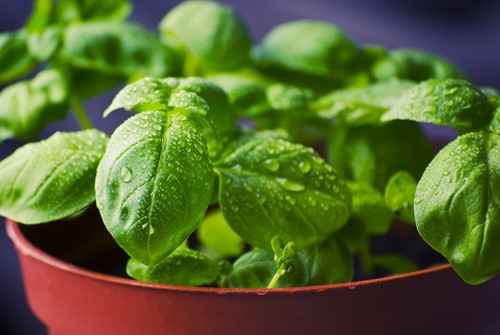
How to Spice Up Your Kitchen Window With Home-Grown Herbs

Fresh herbs can take all your meals to the next level, but they are often hard to find and quite pricey when you do. So, if you want to have all your favorite herbs nearby whenever you need them, you’ll need to take matters into your own hands. Thankfully, that’s easy to do by upgrading your kitchen with a windowsill herb garden. Here’s how.
Best Herbs to Grow Indoors
Unless you have room for every herb imaginable, you’ll need to figure out just which varieties to grow on your windowsill.
The most popular options include:
-
Basil
-
Chives
-
Sage
-
Parsley
-
Oregano
-
Mint
-
Thyme
-
Rosemary
Think about what you use in your meals most often and pick those herbs first. You can always add to your lineup later on as you master the art of growing fresh herbs.
No matter what you choose, you can either grow them from seed or get starter plants from a local nursery. Starter plants are faster and easier to grow since you can skip the germination and seedling stages. You can then zoom straight to the good part, getting to harvest the herbs you need to spice up your meals.
How to Set Up Your Herb Garden
Once you have a few herbs in mind, take your seeds or starter plants along with:
-
Six-inch pots
-
High-quality potting soil
-
Spray bottle for water
-
Plant markers
-
Organic fertilizer
Fill each container with potting soil, and then create a divot for your seeds or starter plants. If using seeds, bury them beneath the surface at the depth marked on the package. Starter plants will need to have their roots buried without packing down the soil. Put a plant marker in each container to help you keep track of what you’re growing.
After you have put each plant in a pot, place them on your windowsill. The herbs should get at least six hours of bright sunlight each day. If not, then you can set up an LED indoor grow light that will provide the full spectrum of light, just like the sun.
Care Techniques for Popular Herbs
In addition to getting enough light each day, most herbs prefer moist soil that’s not too soggy. You can control the soil moisture by watering your herbs with a spray bottle. Use distilled water only since some plants can be sensitive to chlorine and other chemicals in tap water.
You’ll want to apply the organic fertilizer every couple of months to rejuvenate the nutrients in the soil. Otherwise, the plants will consume all the nutrients and wilt as the soil fails to provide what they need to grow strong. Since plant growth slows down in the winter, consider skipping the fertilizer until the sunshine returns.
How to Harvest, Store and Use Your Herbs
As your herbs grow and thrive, you can start clipping off leaves and small branches to use in your cooking. Take care to avoid clipping the plants too far down. You want to give each one time to recover and start branching out. Over time, your herbs will get quite bushy and may even demand a bigger pot.
Once that happens, you can likely harvest enough herbs to dry and store for a later date. You can either hang the herbs upside down to dry or add them in a dehydrator. After that, put them in an air-tight container to preserve their color and flavor.
Before you know it, all your window sills will have pots of herbs lined up in neat rows. They’re truly that fun to grow, and the fresh and dried herbs make fantastic gifts for friends, family and neighbors.
About the Author
